How to add an Alpha Channel mask using Photoshop.
Bring your photo into Photoshop. If it is a .jpg, save it as a .tiff.
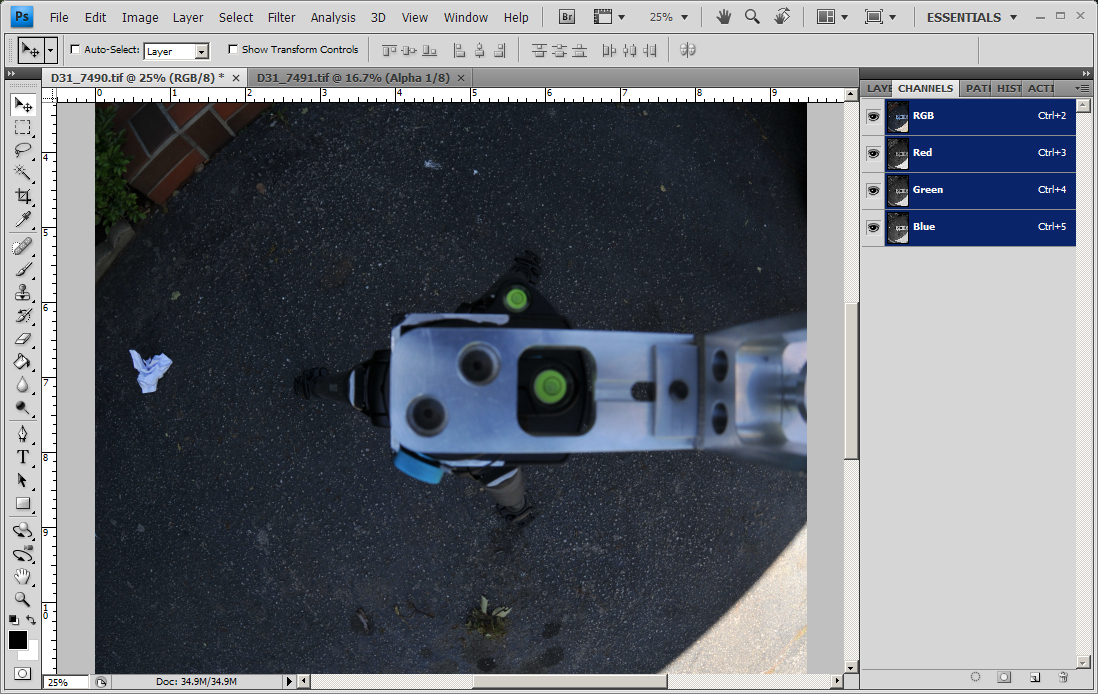
From the main menu, select View -> Channels
From the main menu, select Select -> All (CTRL + A)
In the lower right corner, click on the third icon from the right. It is the square with the circle in it.

Click in the box just to the left of the channel called "Alpha 1". That will make this channel visible. Click on the name "Alpha 1". This will make the channel the current one for editing.
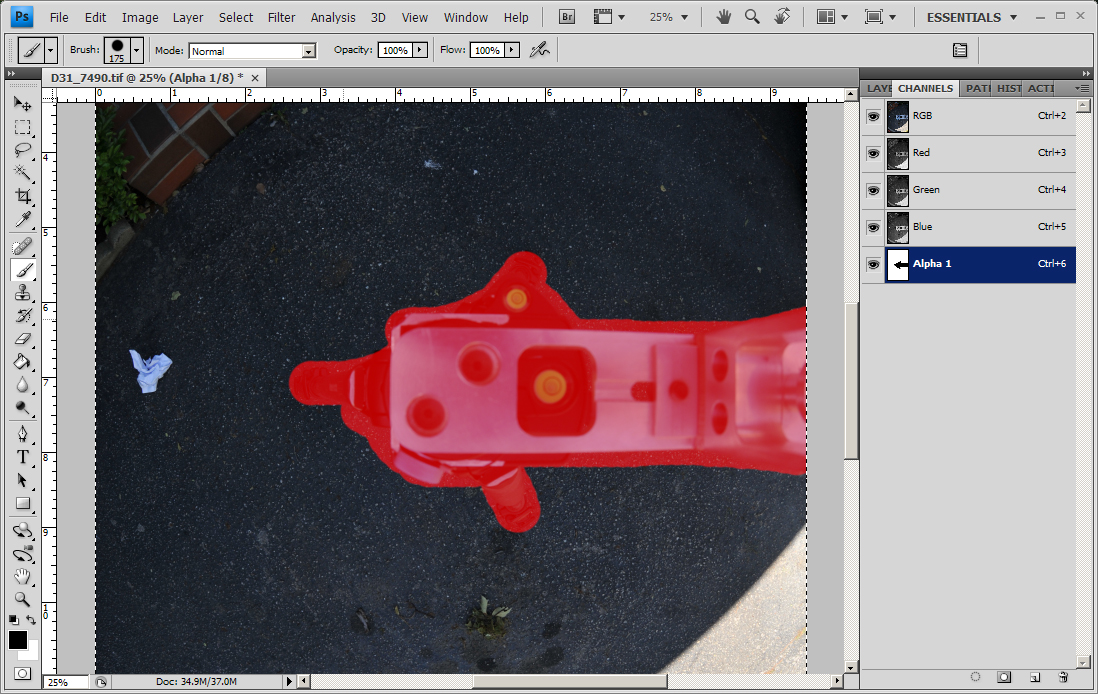
Select the paintbrush tool, 8th down in the toolbox.
When you paint black, you will mask out the area you do not want to appear. When you paint white, you will be exposing the area you want to appear.
When painting black, you will see red on the screen. When painting white, you will see a clear image
.
The squares with the foreground and background colors control the masking colors. If they are not black and white, click on the two very small squares, just above and to the left of the larger squares. This will reset the colors back to default.
Clicking on the bend double ended arrow will switch back and forth between black and white.
Make sure black is the current color and start painting out the area you do not want to appear. Use the [ and ] keys to adjust the brush size.
If you make a mistake and paint over too much, click on the bent double ended arrow, changing the current color to white, then "erase" your mistake. Click on the arrow again to switch the color back to black.
When finished, save as a .tiff. You have successfully applied an Alpha Channel mask.
You can use this mask for images other than the Nadir. When shooting moving people, you may have to mask out the left and right side of each image in order to erase "floating" body parts and such.